Quick Start
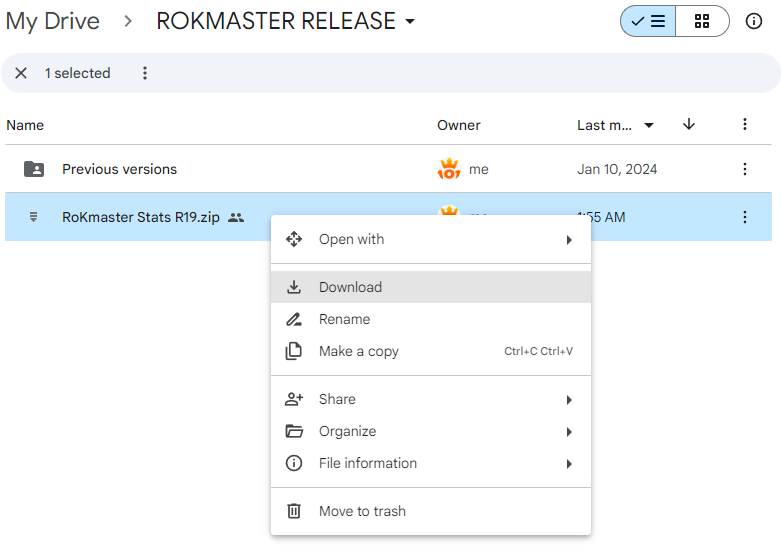
Download RoKmaster Stats software from this link:
https://drive.google.com/drive/folders/1ZcUB0BovmR-LaHl-Qi7k4pekAsvoUlPW?usp=drive_link
Right click the file RoKmaster Stats Rxx.zip and then click Download
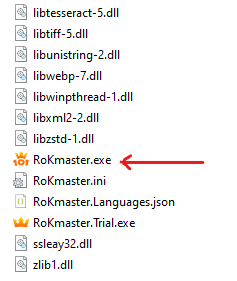
When the downloading is finished, extract the zip file to a folder that you plan, and run the file RoKmaster.exe
Now you see the Sign-in window
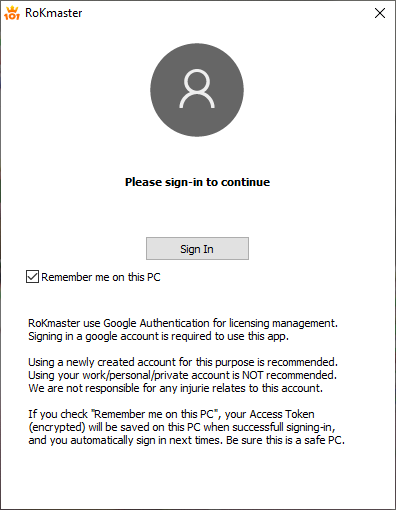
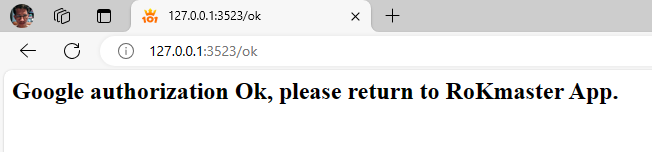
Click the button Sign In and use your WebBrowser to sign in your Google Account. When success, you see the following screen:
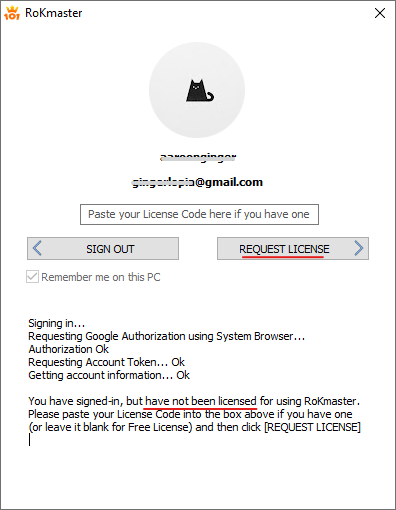
Click REQUEST LICENSE to get Free One Month License with full features. This can be done once for each email and computer.
If you have a License Code, paste it into the box above and click REQUEST LICENSE to activate your License. You can buy a License Code on https://MetaGaming101.com
You can continue to run app in Trial Mode (cannot save data), or close the app and wait 5 minutes. Run it again and now you can use full features. You are also received an email responses that your licensing request is accepted or not.
Now, you have been licensed, the sign-in screen look like this
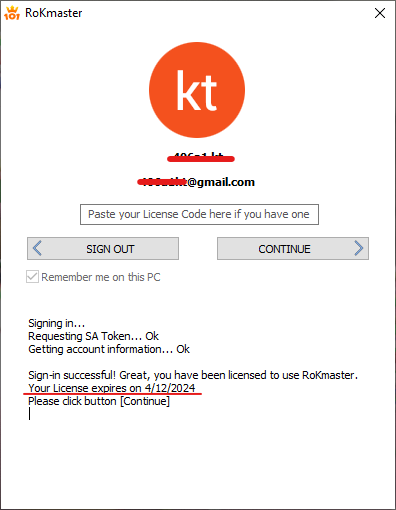
Click the button Continue to start mastering your power!
The Use
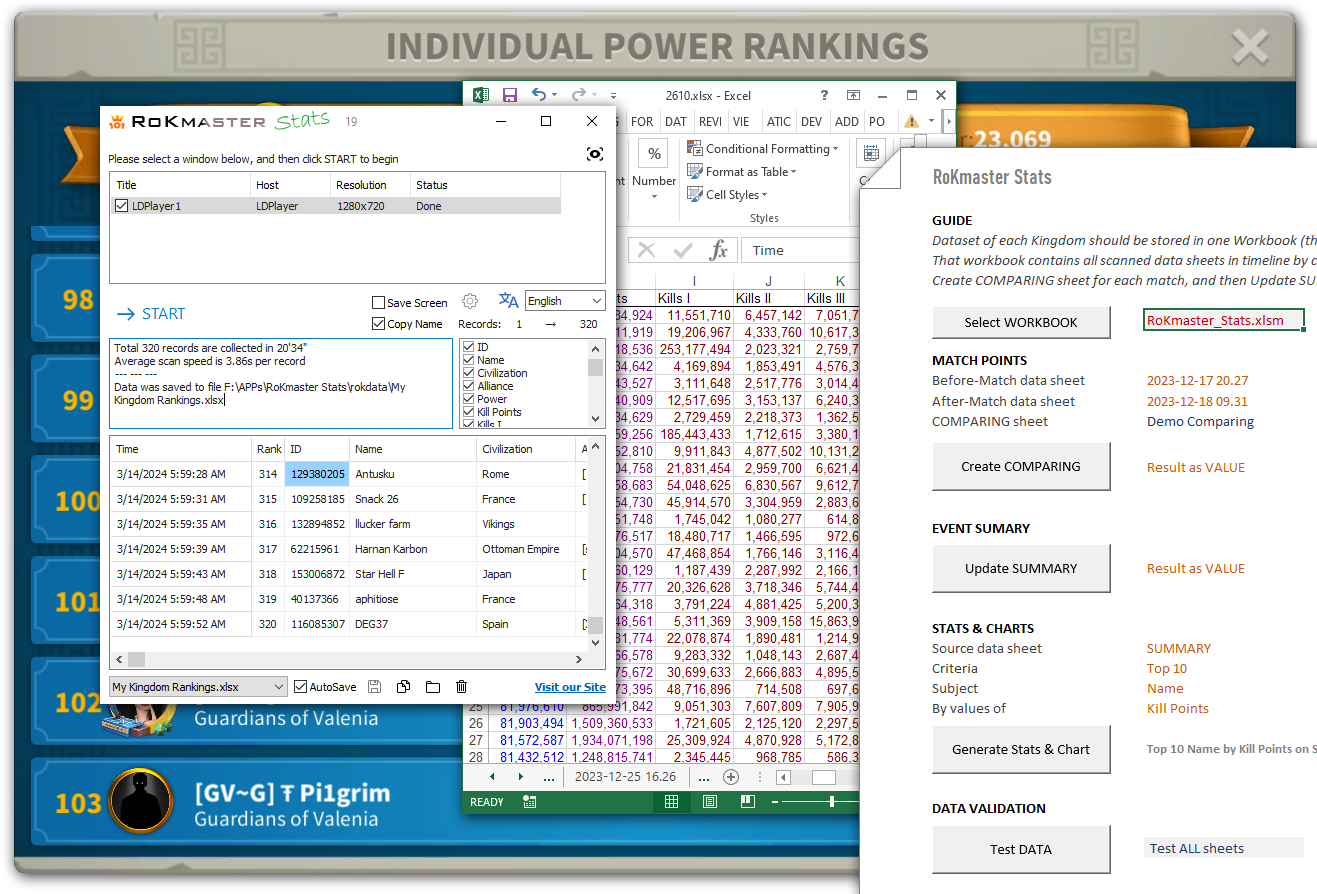
This is screen of RoKmaster Stats, simple and clear.
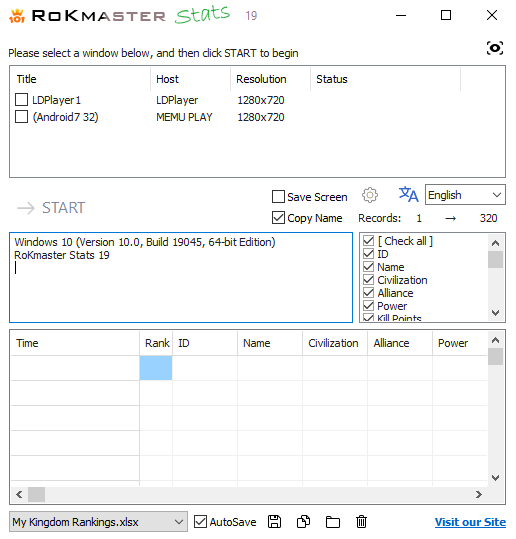
Although you can know how to use it at first sight, we have some notice:
- The top box lists all active Android emulators that are running. At the same time, you can select and scan only one window.
- IMPORTANT NOTICE: The language box
 must be set same as the current language in RoK game.
 - If the Save Screen checkbox is checked, all Governor screens (Profile, Kill Statistics, More Info) will be saved as pictures while scanning and linked to extracted data when save. The pictures are not included in xlsx file, but locate in a folder that is same location and same name as xlsx file. If this is not checked, pictures are not saved.
- If the Copy Name checkbox is checked, governor names are coppied while scanning, else they are recognized by OCR way. Copy-method get exact name but it highly uses System Clipboard while scanning, that can cause conflict if you are working and do copy and paste in another application (you will paste out a governor name!).
- The option
 specifies the range of ranks to scan, from the start rank to the end rank. Directly type the numbers or change values by using keys Up+1/Down-1, PgUp+10/PgDn-10, or using mouse scroll.
 - This button
 is Preset Selection, it has 8 presets for you. Each preset stores 3 options: Language, Rank Range and Scan Fields. All modified values on these options are automaticly saved to the active preset.
 - When scan is finished, if AutoSave is checked, app automaticly saves the data to the chosen file, else you have to hit
 to save.
 - When app saves data to xlsx file, if the file has been opened by Excel Application, data will be exported to that opening file in Excel instead of direct writting to file on disk. Also, you can choose <Save to active Excel> at the bottom filebox and then hit the Save button to export data to the active workbook of Excel Application that are running.
- Normally, you need hit
 to clear all data before start a new scan. If you retain data and start a new scan, app does not override the old data, but it continuously appends records from the last rank to the end rank (yes, in case the last rank < the end rank).